[Video Above] “The Translation Machine” Interactive Sound Sculpture & Co-Creation With Bees by Daric Gill
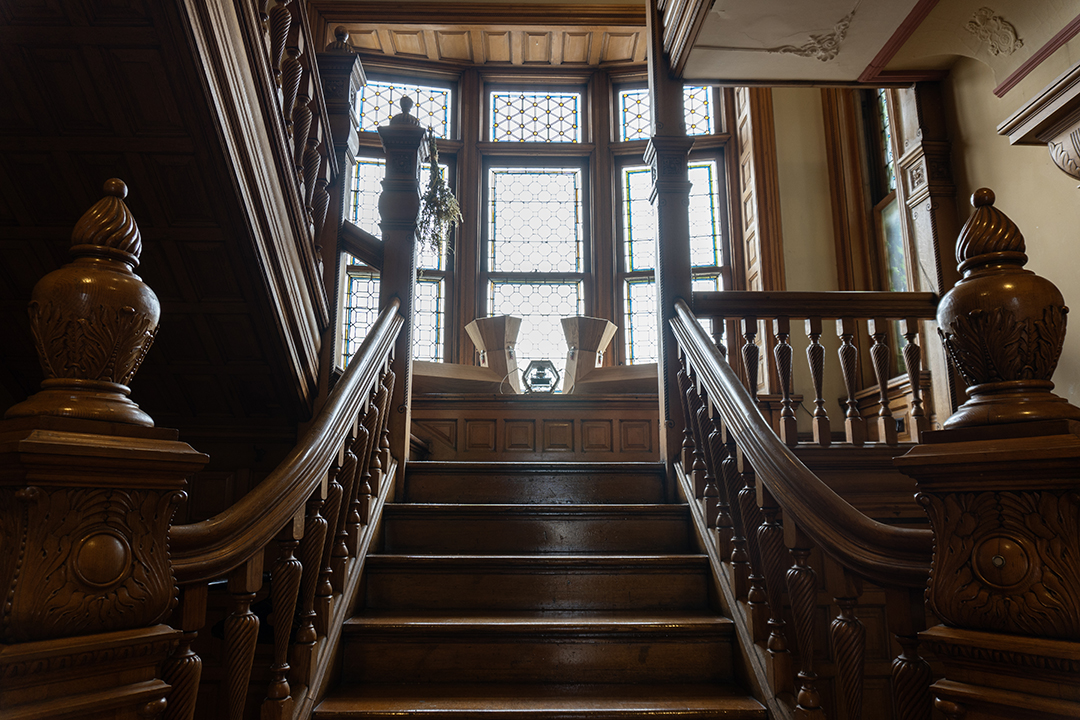
You’re warmly invited to experience “The Translation Machine” this February at the Bess Bower Dunn Museum, in collaboration with The Bee Collective. “For The Love of Pollinators” is an exhibition that celebrates the vital connection between pollination, habitat, art, and the natural world. Featuring over 30 sculptural artworks from around the world, created with the help of honey bees, you’ll discover the beauty and importance of pollinators in our ecosystems and communities.
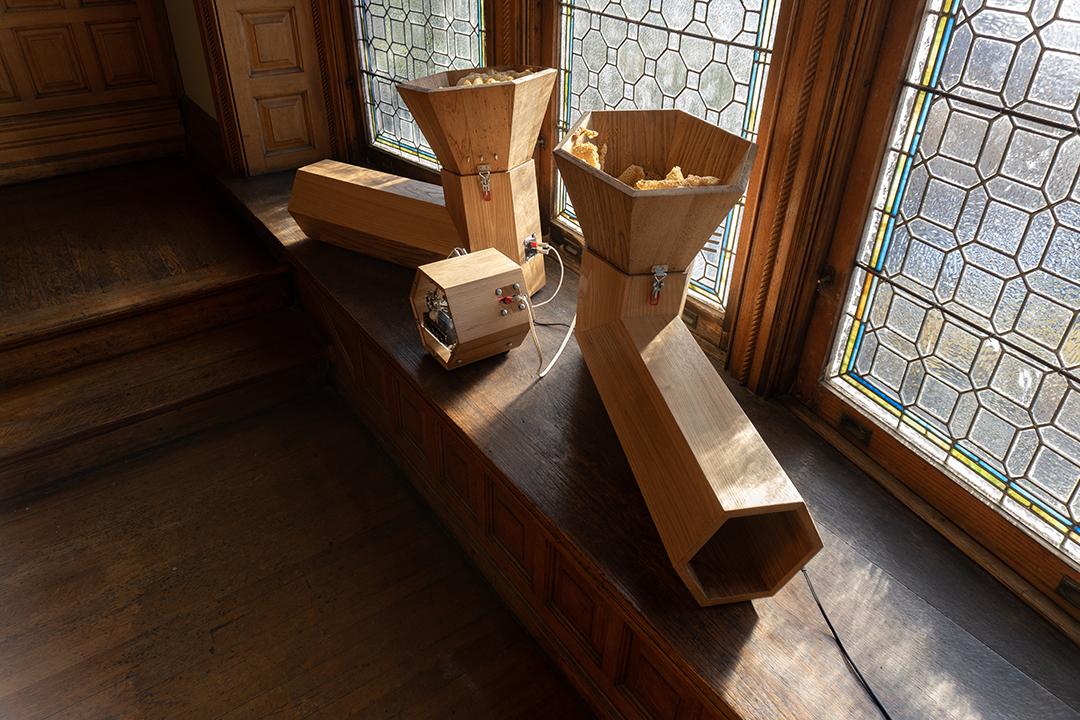
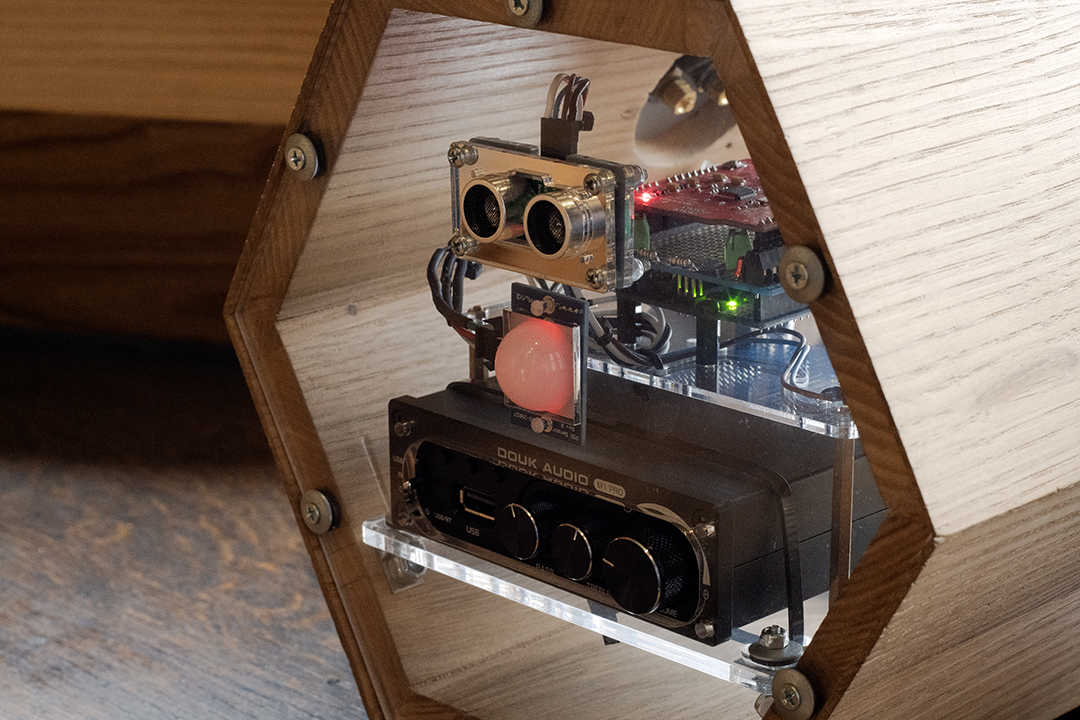
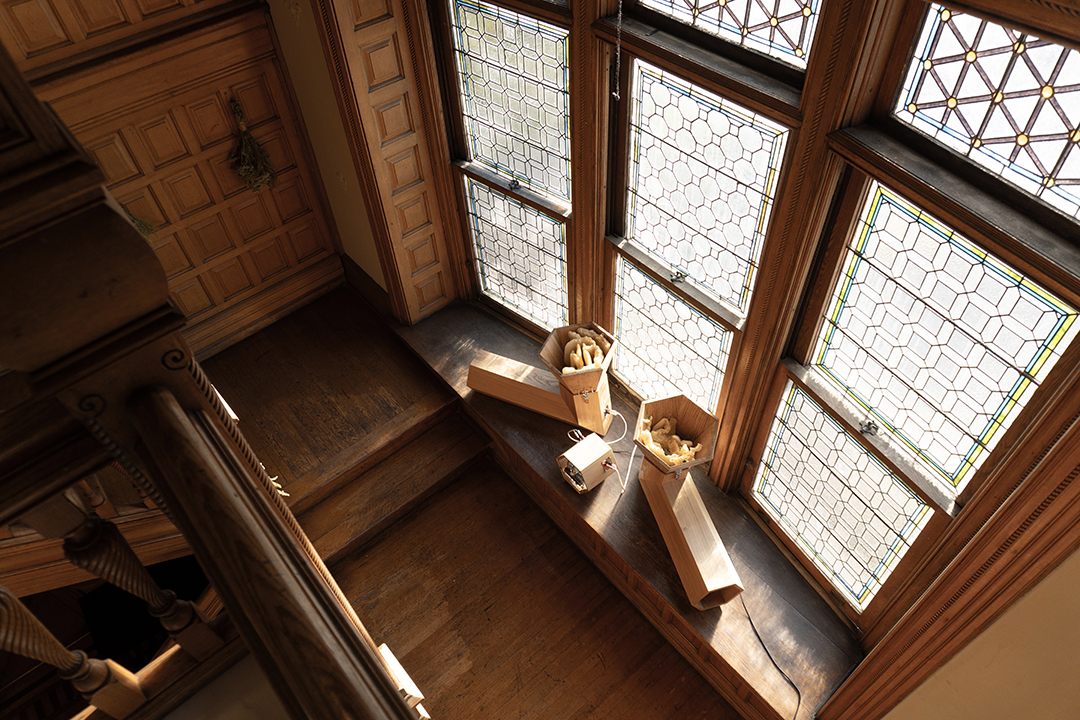
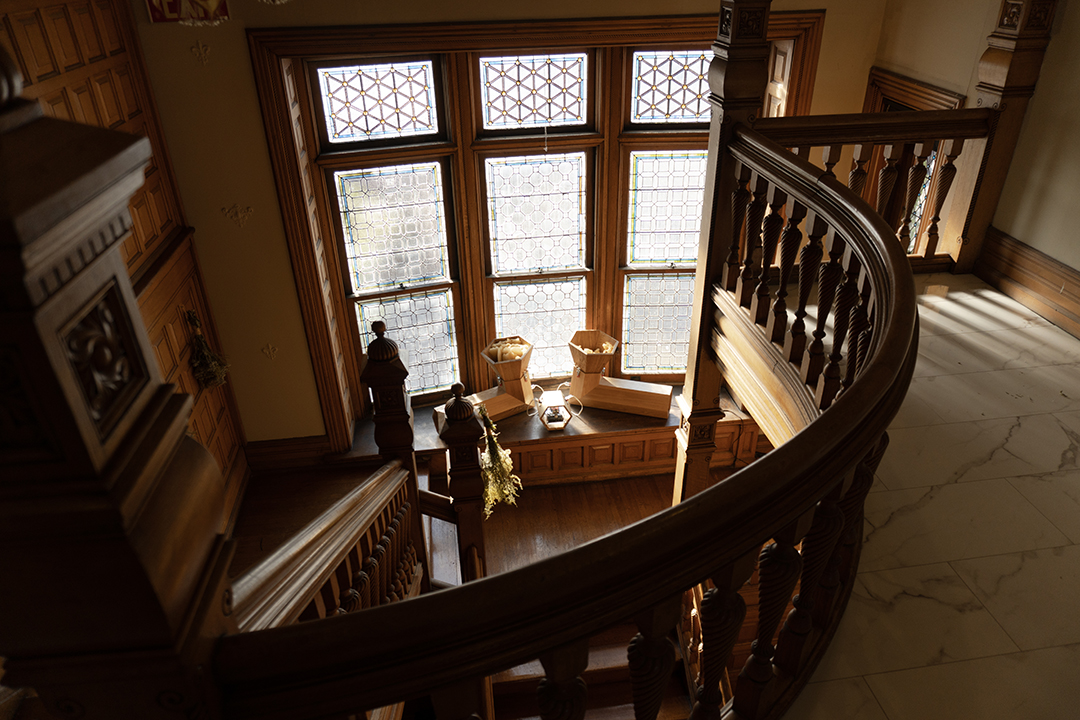
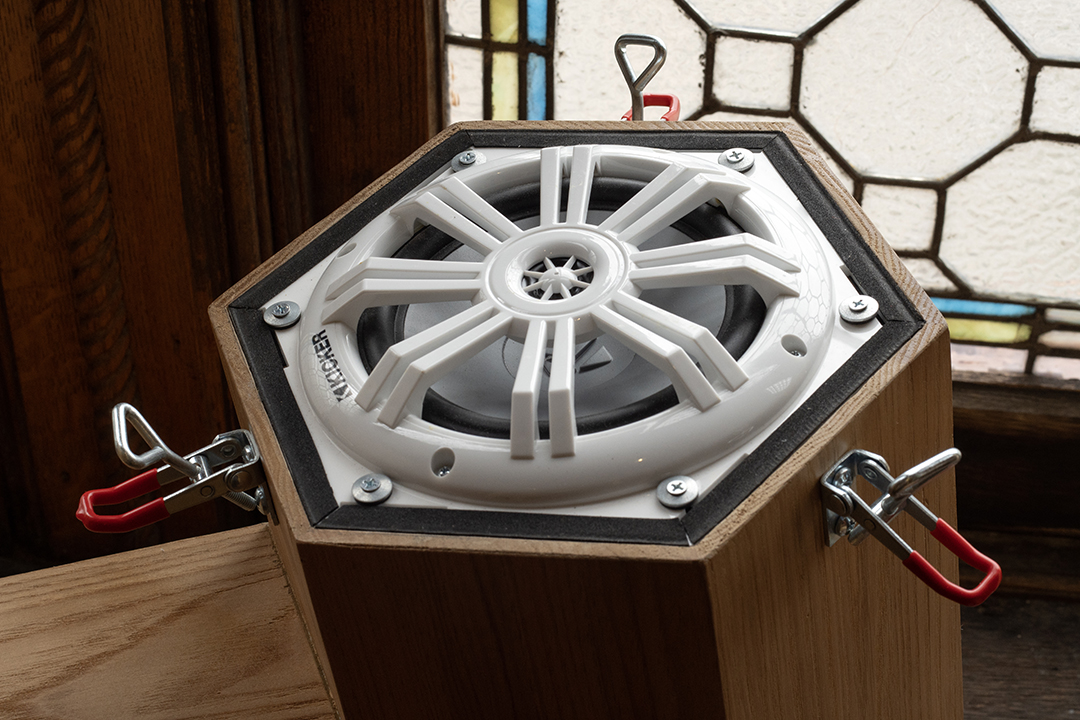
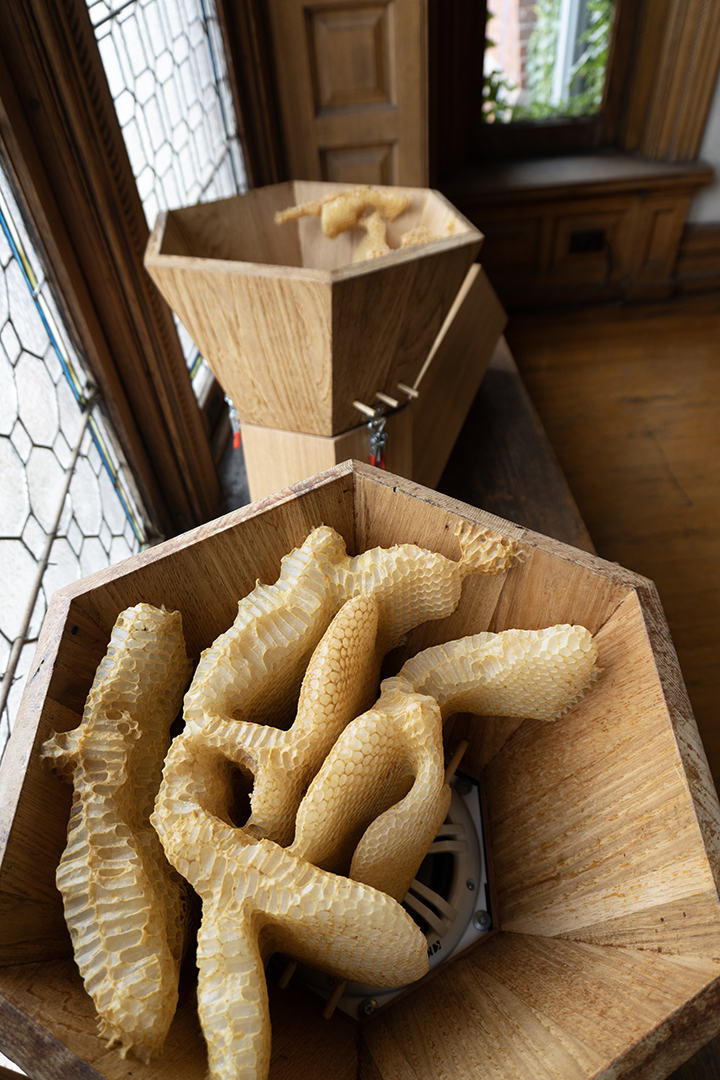
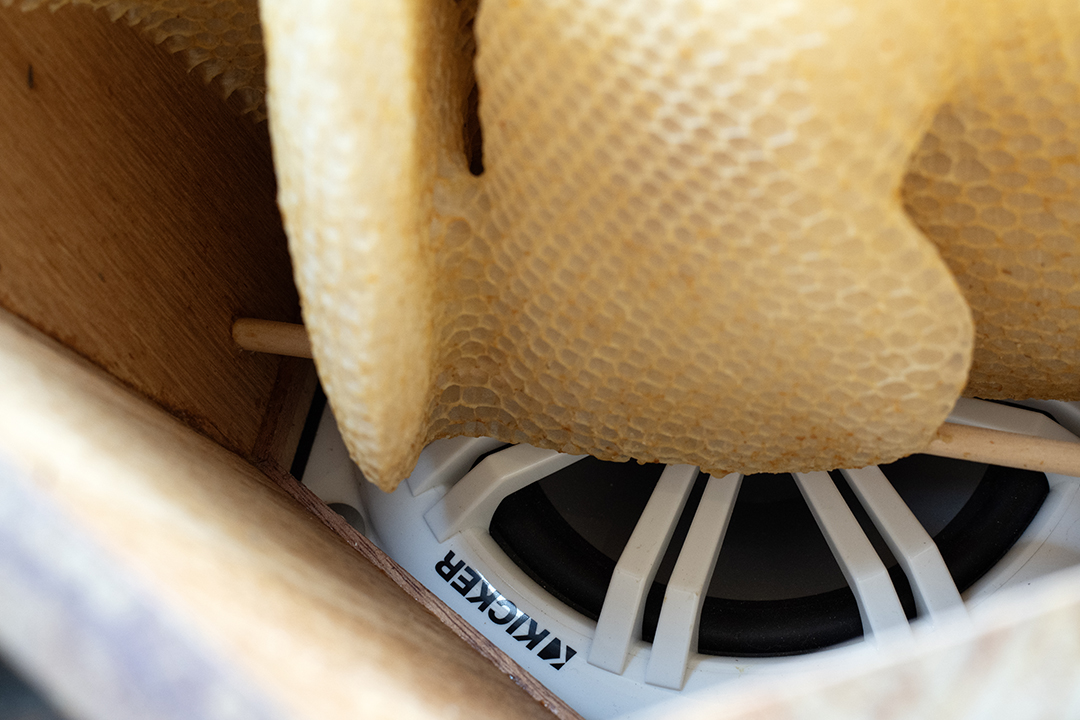
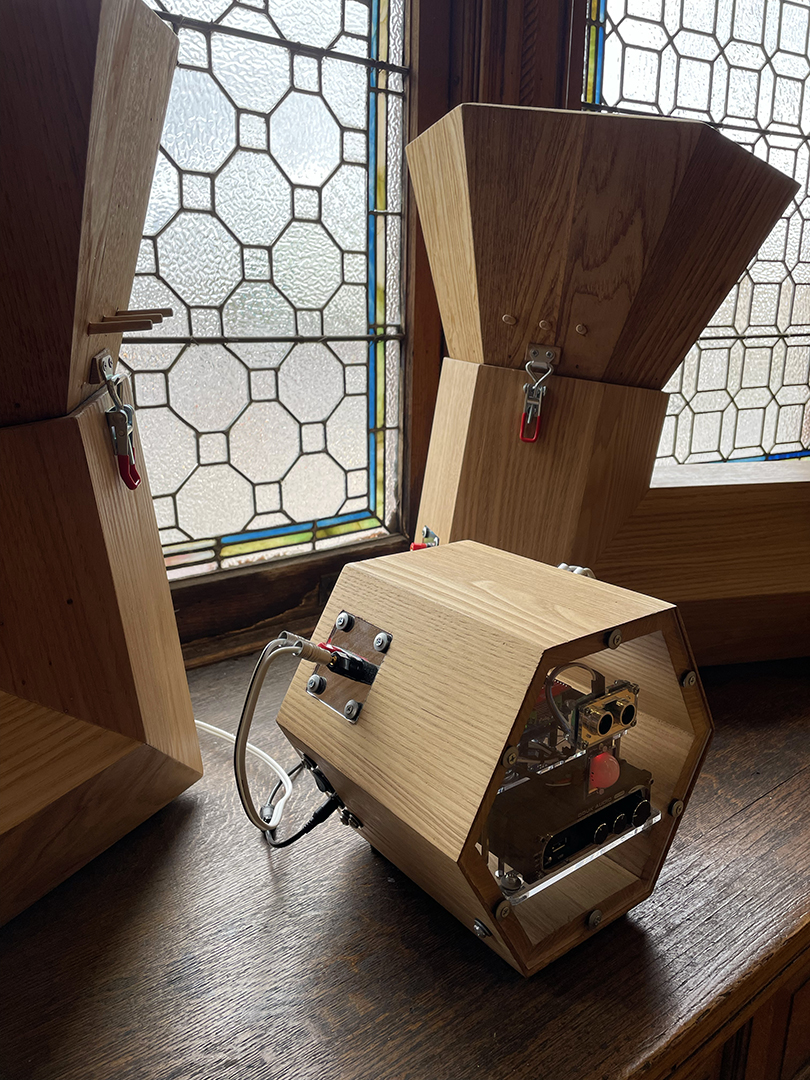
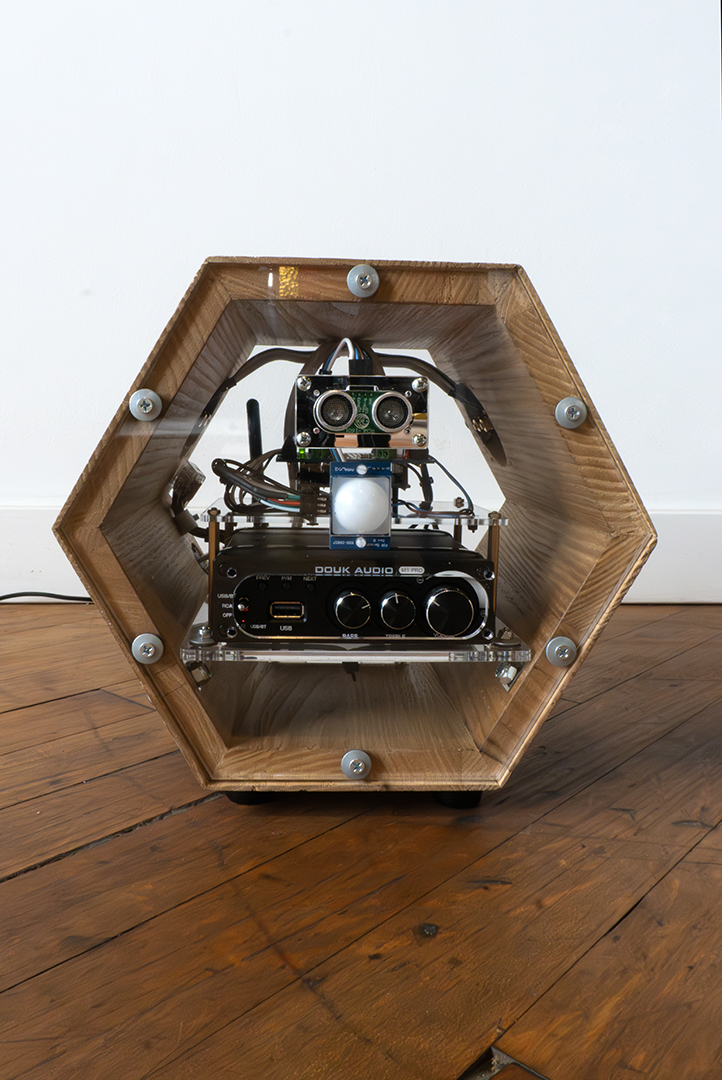
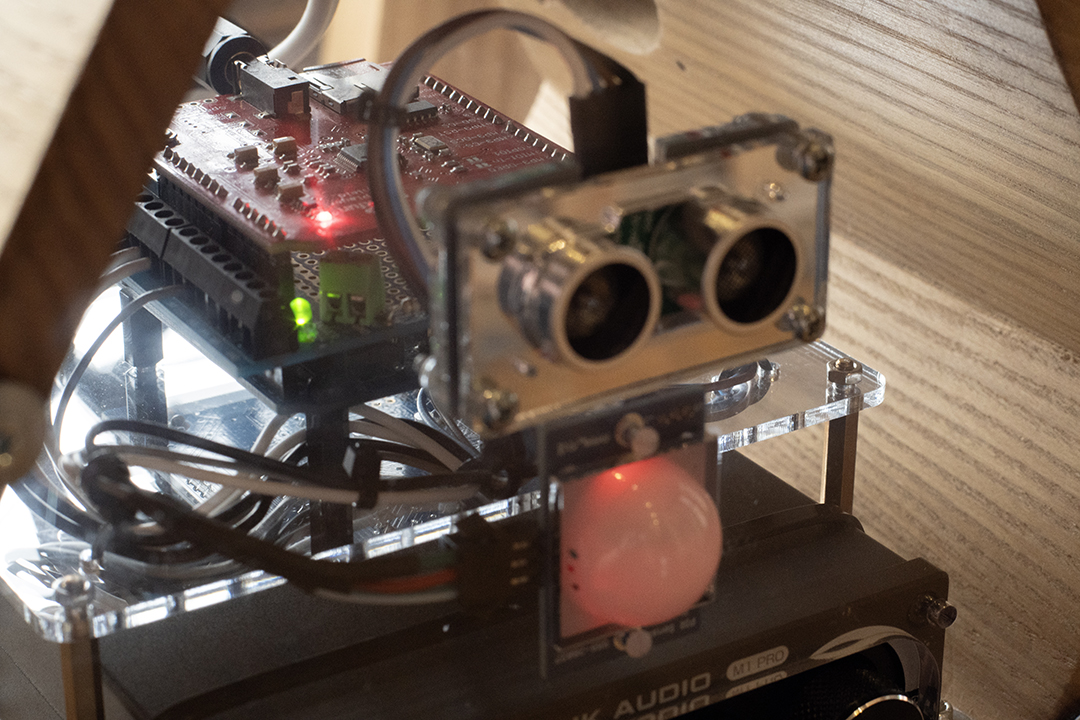
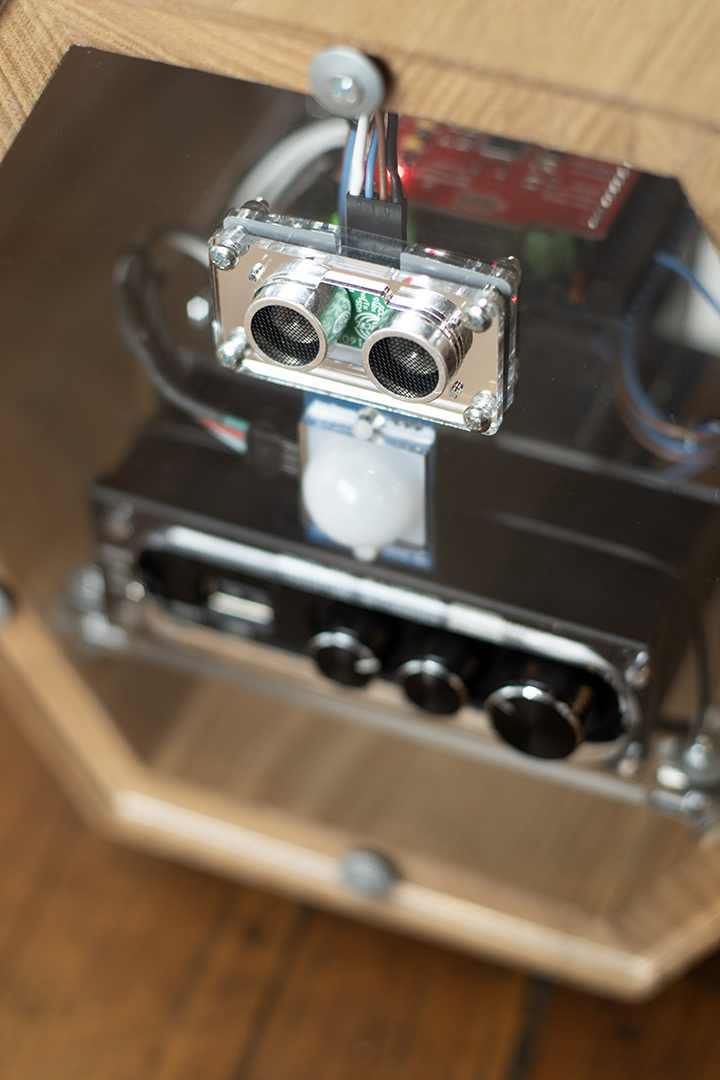
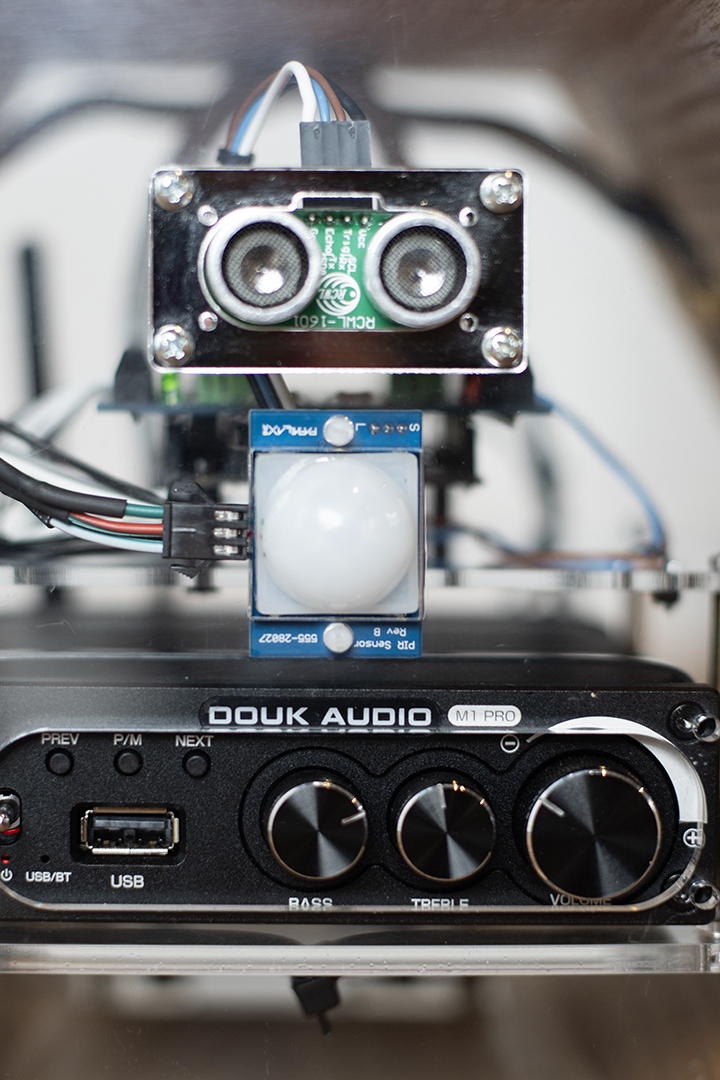
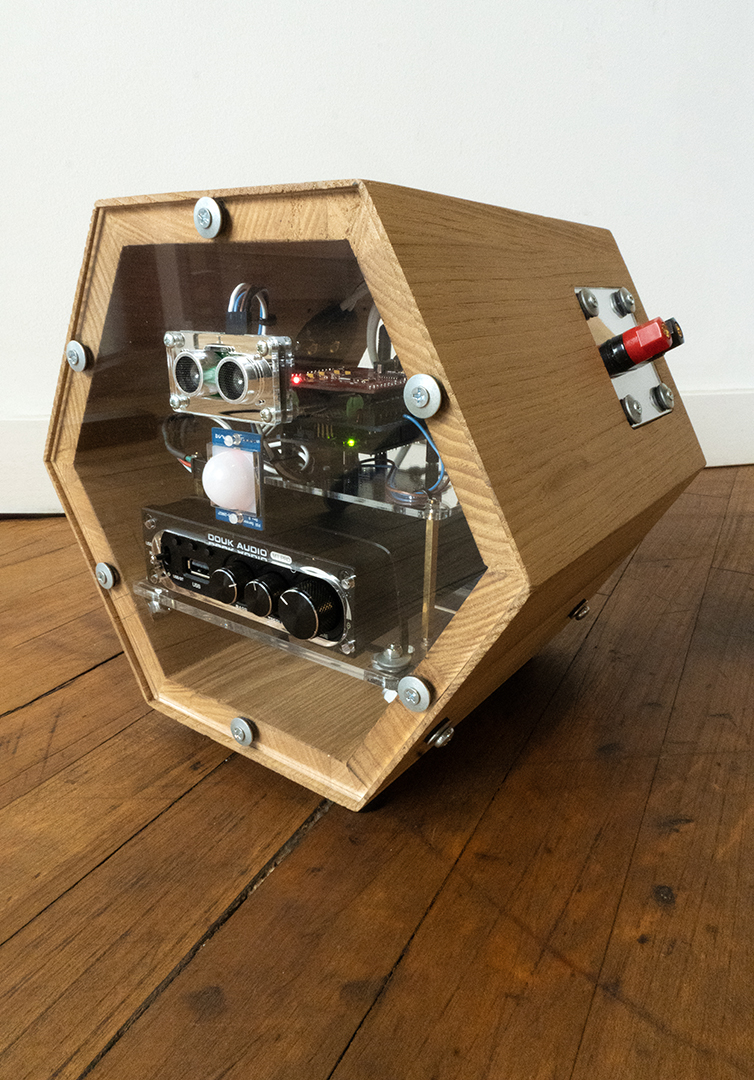
“The Translation Machine” is a sound installation & interspecies co-creation with honeybees. A set of wooden hexagonal tubes act as acoustic chambers for speakers that play recordings through honeycomb that clings to the inside of amplifying horns. When triggered by motion, the sculpture plays recordings taken from the artist’s global travels, with the volume increasing as the viewer approaches the honeycomb. This is achieved using an artist-programmed microcontroller, a passive infrared sensor, & sonar sensors housed in a hexagonal box at the sculpture’s center.
This piece discusses the oscillation between purpose & compromise, precision & chance, where different ecosystems are presented with an opportunity to blend together through adaptive problem-solving. It’s a study of the convergence of technology, nature, & humanity.
[Video Above] The Making of “The Translation Machine” Interactive Sound Sculpture & Co-Creation With Bees by Daric Gill
Build Process – How Bees Helped Make A Sound Sculpture, “The Translation Machine”
by Daric Gill
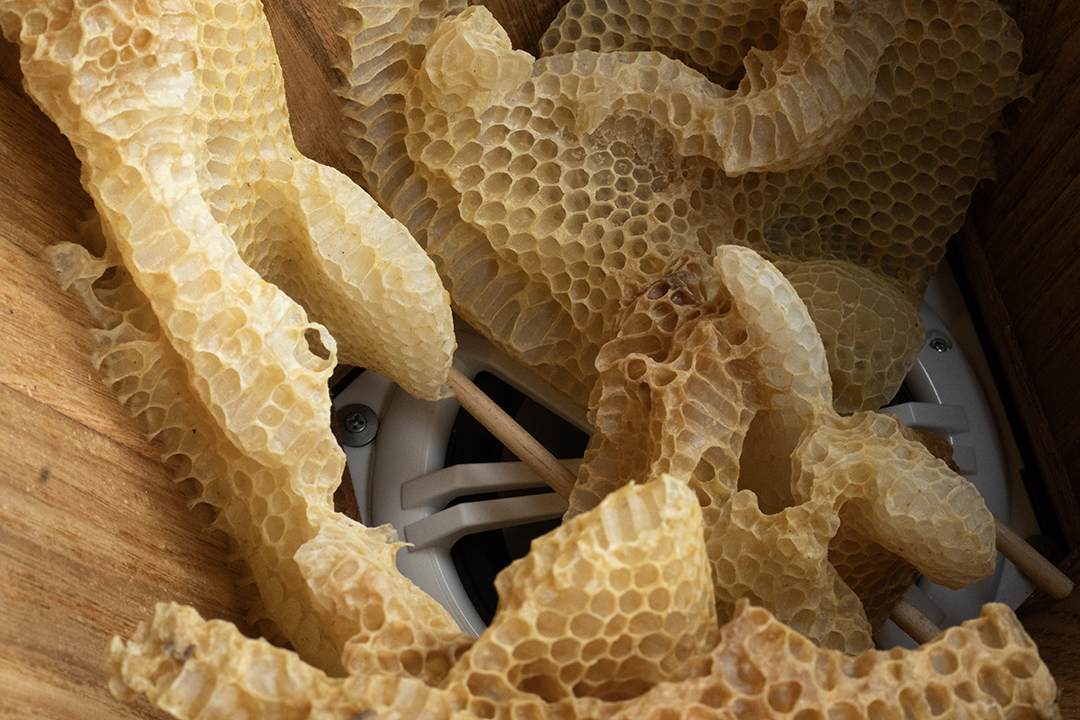
“The Translation Machine” is a sound installation & interspecies co-creation with honeybees. In preparation for an upcoming exhibition at the Dunn Museum in Illinois, I invited the bees for their second summer to build honeycomb in my artwork as I travelled the world in search of new sounds to include in the installation. A set of wooden hexagonal tubes acts as acoustic chambers for speakers that play recordings through honeycomb that cling to the inside of amplifying horns. When triggered by motion, the sculpture plays recordings taken from my global travels, with the volume increasing as the viewer gets closer to the honeycomb. This is achieved using an artist-programmed microcontroller, a passive infrared sensor, & sonar sensors housed in a hexagonal box at the sculpture’s center.
This sculpture was constructed in a few phases. First, each section was designed in Fusion 360 (3D CAD software). Designing it with software allowed me to incorporate variables that could be updated on the fly, mathematically driving the design to adapt to any new information I might come across. These variables included the size of the beehive boxes, measurements for sound resonance, variations in wood thickness, & ‘bee space’ (or the gap the bees make so that they can move around freely & regulate the temperature in the nest). Even the most complex elements of the piece could be dynamically adjusted to fit new information. This is called parametric design.
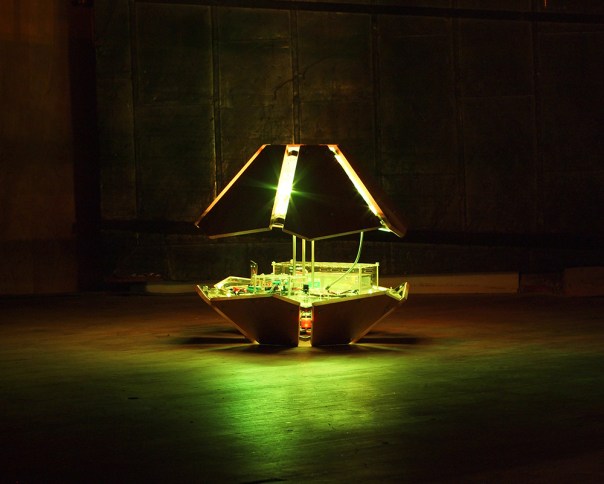
“The Shy Machine”
Of course, there was still room for chance. Also included in the concept was an intention to blend the design with the natural behaviors of honeybees. Combining precisely thought-out measurements with environmental forces is something I’ve investigated before. In “The Shy Machine”, a robot mimics wilderness organisms, reacts to movements & sounds to show viewers how to become part of its ecosystem. And in “The Circadian Machine”, a mirrored pod uses its location to run 52 light & sound programs based on the changing sunrise & sunset. A reasonable next step involved incorporating more data & collaborations from the environment.
Planning a variable result can only be directed, not controlled. Unlike the other work, including a completely different ecosystem, it added the real chance of total failure. The bees might not take to the work at all, rendering an entire year’s worth of designs, building, & travel expenses completely useless. One such example: Weeks of unseasonably high summer temperatures caused the honeycombs to collapse in one of the amplification horns while it remained in the hives.
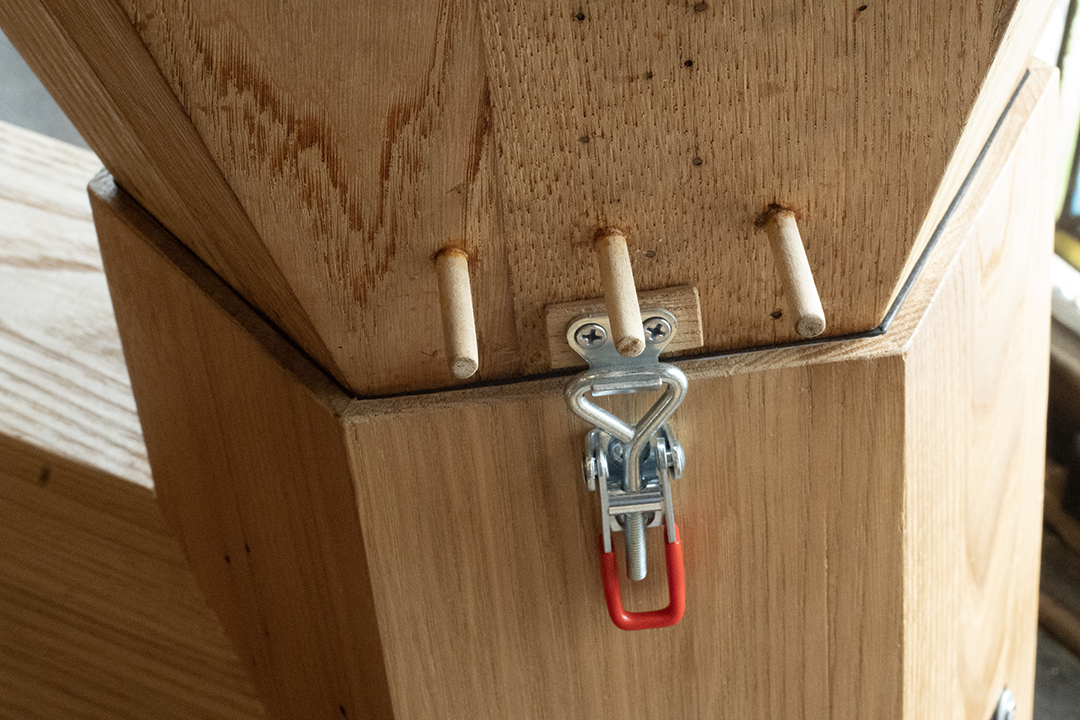
I chose to build the parts included in the hives out of organic material to ensure they wouldn’t harm the bees. The golden brown wood, which comes from an old barn, had one side covered in thick paint & the other darkened by years of weather exposure. To continue this reclaimed theme, the clear & mirrored acrylic was laser cut from leftover pieces of another sculpture. The microcontroller & soundboard have also been used lightly in other projects. Even the templates for creating complex angles were made entirely from scrap materials & mostly reused screws.
A Collaborative Effort For a Good Cause + Exhibition
I’ve been working with Luke Howard, an American beekeeper & viral online advocate from The Bee Collective in Ohio (Instagram link here) & Dr. Sarah Scott, an entomologist and research scientist at Newcastle University. She’s working to understand the drivers of bee decline and improving wild bee welfare. The debut of “The Translation Machine” coincided with ‘Beecoming Home’, a collaborative gallery exhibit & educational outreach event focused on bees, nature, & culture. The exhibition’s mission, an ongoing experiment, continues to raise awareness for pollinator habitats in our urban areas.
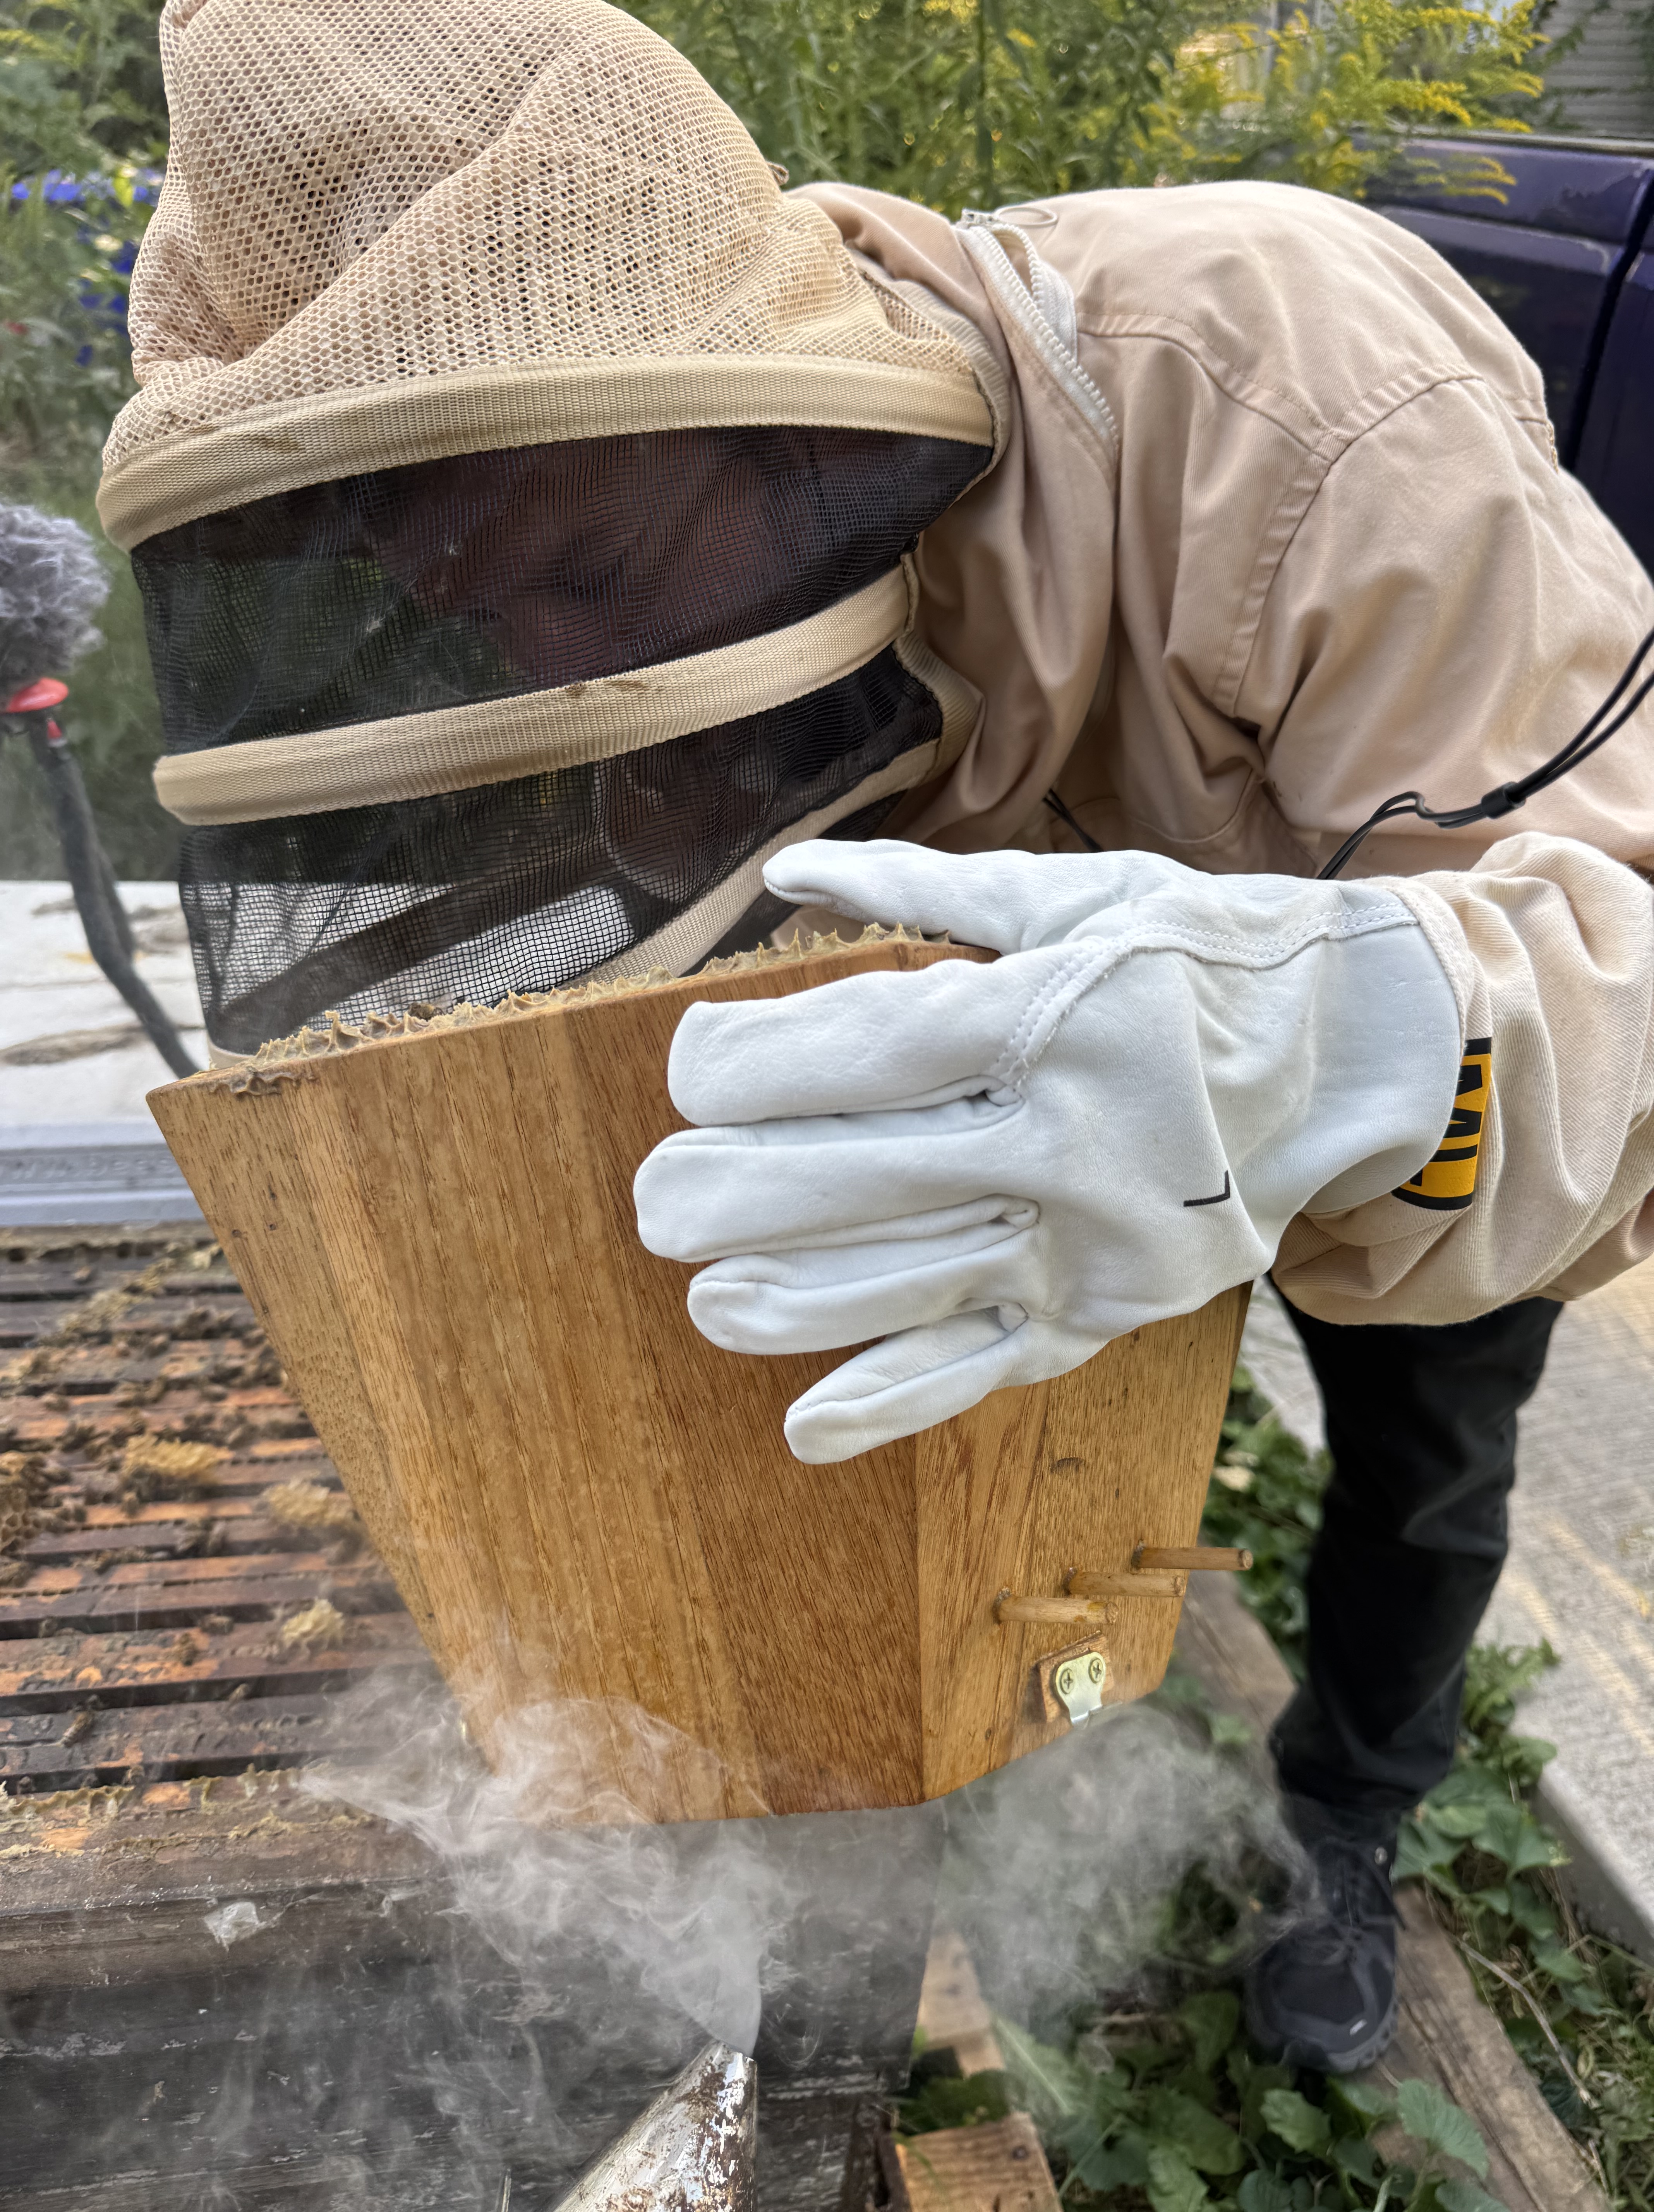
Luke & Sarah have been integral parts of this project. In the spring, I stood with Luke in a swarm of bees as he shifted them to a new hive. Shortly after, he placed part of my piece (the amplification horns) into the new hives & added some starter wax called foundation, where they remained throughout the summer. While I’ve been off collecting my sounds across the world to bring back to this piece, he looked after the actions of his bees, making many nuanced adjustments to the work so it has the best chance for success.
After serving as a vessel from which the colony could build its combs, the amplification horns were pulled out & joined with the acoustic boxes. Luke & Sarah were a wealth of information, candidly guiding me & answering my rudimentary questions with no judgment. They even helped me get nerdy with more abstract aspects like building in the ‘bee space’. It was amazing to listen as they discussed cutting-edge pollinator research.
I implore you to check out The Bee Collective or connect with your pollinator-friendly community. From my experience, you won’t be disappointed.
What Are Binaural Recordings?
“The Translation Machine” V 2.0 has been updated with new recordings from more locations–& now, with a wider range of spatial audio. I’ve recently upgraded my equipment from the now-discontinued Zoom H1N field recorder to a set of Sonic Presence SP15C binaural microphones. While the H1N was small enough to fit in my pocket & it often produced a fairly good result, its high noise floor (noise caused by electromagnetic interference) caused weeks of editing in post. The switch to the more compact SP15Cs allowed me to capture new environments with a wider amount of spatial clarity, using something that resembled a pair of corded earbuds that plugged into my phone.
So what are binaural recordings? It is a method of recording sound that uses two microphones, arranged to create a 3D stereo sound sensation for the listener, making it feel as though they are in the recorded environment.
Imagine you’re in a room & your friends start singing. One of your ears will pick up the sound slightly faster than the other, & your head itself will block some of the sound as well. If you recorded them with one stationary microphone, you may get a different volume depending on where you place that microphone. And if you used two microphones placed on either side of your head, you would get a recording that would mimic exactly what your ears hear.
These microphones resemble headphones, but they don’t play sounds — they record them. Since the height & size of the person wearing the microphones vary, each recording is unique to the stance & position of the individual wearing them. For example, I’m not a tall man. What I hear in a crowd of people would be very different than that of a tall person.
Side note: I found that mini windscreens were 100% necessary in most scenarios to prevent windy rumbles.
A Brief Artistic Narrative, WHY?
I’ve always been an adventurous person, curious by nature. But it wasn’t until my first artist residency in another country that I had enough time & space to fully understand what it felt like & sounded like to be a stranger in an unfamiliar land. Since then, I have spent years pursuing this feeling through an ever-growing collection of global experiences. I’m captivated by the many translations we do, the subtle changes we make to our tones or behaviors when we have an impactful experience or are introduced into a new ecosystem. I’m fascinated with how those moments can be archived, capturing them for later, recombining their elements, & sharing them with others.
By attracting viewers into this sculpture with noticeable features (like sounds & then further enticing them with honeycomb in the amplification blooms), the piece achieves its real purpose, subtle persuasion. It connects participants to places & experiences they often dream of but might not truly connect with otherwise. Viewers are presented with their own personal glimpse into interesting moments, environments, & unique experiences from around the world. Rather than being confrontational, it gently uses viewers as hosts, who carry off new notions of global & ecological curiosity like seeds or pollen.
This piece discusses the oscillation between purpose & compromise, precision & chance. It’s a purposeful look at how ecosystems can blend together through adaptive problem-solving. It’s a study of the convergence of technology, nature, & humanity.
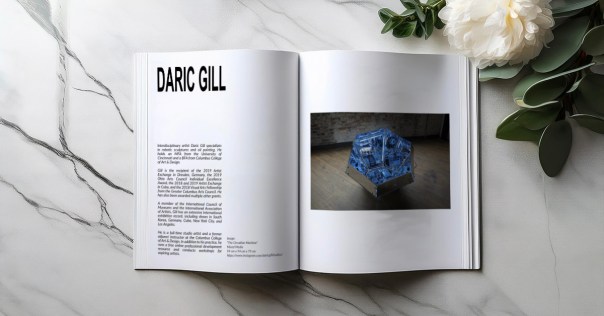
I am deeply honored to announce that “The Shy Machine” has been published in Issue 18 of Al-Tiba9 Magazine, an esteemed international platform known for showcasing experimental & innovative contemporary art. A gallery & publication based in Barcelona, Spain, Al-Tiba9 has earned a reputation for promoting diverse artistic voices worldwide, reflecting today’s art scene’s dynamic & ever-evolving nature. I would like to extend my heartfelt thanks to the Al-Tiba9 team for their commitment to providing a platform that fosters creativity & critical dialogue.
“The Shy Machine” is a motion-activated, sound-reactive, environmentally adaptive, kinetic light sculpture. As its name would suggest, this robot is shy. The two halves of this 12-sided geometric form open and close depending on the noise levels in the environment. Vibrant lights pulse from within according to the volume in the room. The insides are packed with electronic brains, lights, and sensors to make this happen. In this article, you can explore the build process from start to finish. For more about the artistic concept, click here. Or if you’re interested in how I built it from start to finish, click here.
I was very pleased to see the high caliber of other represented contemporary artists, photographers, performers, & designers. You can find copies of the magazine online, at their gallery in Barcelona, or at one of the ArtsLibris International Art Book Fairs: ARCOlisboa (Lisbon), MACBA (Barcelona), FIL Guadalajara (Mexico).
“The Circadian Machine” by Daric Gill, A Light & Sound Sculpture Featured in Divide Magazine: Issue 13
I am incredibly grateful to be featured in Issue 13 of Divide Magazine! Having “The Circadian Machine” highlighted among such talented creatives is an honor. It’s always wonderful to share my work with a wider audience, especially through an international publication like Divide Magazine. I’m excited to continue exploring the intersection of light, sound, and emotion, and I can’t wait to start on the next piece.
“The Circadian Machine” at the Columbus Museum of Art
“The Circadian Machine” is a motion-sensitive light & sound sculpture that uses its GPS location to dynamically change its internal clock & sound + light displays based on the unique amount of sunlight on that specific day & location. It can be activated from anywhere in the world by special invitation. You can read the whole magazine here (my feature is on pages 216-217).


You must be logged in to post a comment.