Photographing Your Artwork: Beginner’s Tips That Anyone Can Do
by Daric Gill
Not everyone is a seasoned photographer. Documenting your artwork has challenges that may be keeping your work from the world. If you’re wondering what you can do to up your portfolio documentation skills without diving head-on to advanced camera lingo, this blog is for you!
Beginners often own a wide range of digital photography equipment, from simple point and shoots to expensive DSLR cameras. I’d like to focus less on what brands of cameras or equipment are trending at the moment and instead showcase tips that can help you get started using what you have at the moment. Read further to see some simple tips that anyone can do to improve their photo documentation skills.
This explanation can be summed up in 5 basic topics:
1. Clean It Up
2. Light It Up
3. Set It Up
4. Organize
5. Edit
1. CLEAN IT UP
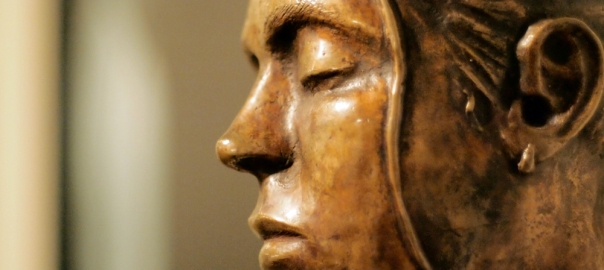
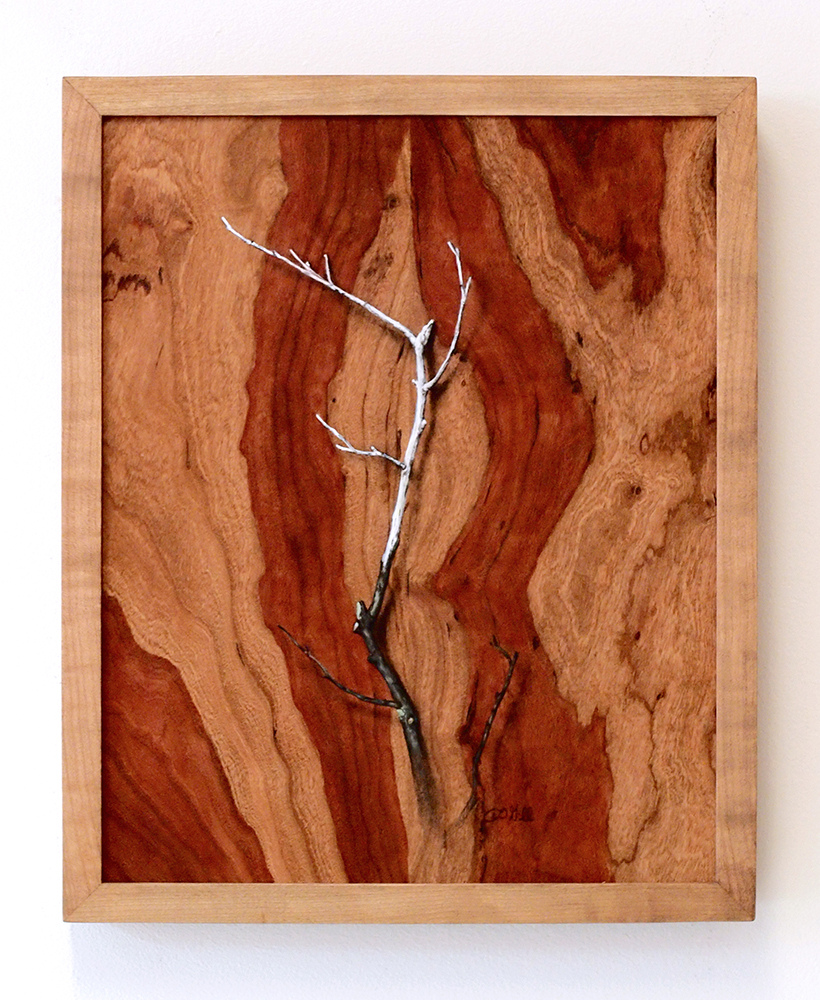
 One of the biggest mistakes I see in documenting artwork is a cluttered, busy, or clumsy background. Clear away all distracting background debris. 2D work can be hung or leaned against a clean plain surface. In the case of 3D work, a simple backdrop can be made by taping white, black, or grey paper to the wall in such a way that the edges of the paper exceed the shot of the camera.
2. LIGHT IT UP
Avoid using camera flashes if at all possible as they tend to blow out the white areas in most art pieces. They also cause loads of unnecessary reflections.
Shooting Indoors Vs. Outdoors
Ideally, choose a location that has bright soft lighting. If you’re shooting 2D or 3D works that are easy to move, find a large window that can be used to light the work. Take note of what time of day has the best light for your work. Ambient light works best. Sunlight that is too direct can cast shadows, accent highlights that compete with the art and accentuates defects. If you are shooting an installation outside or simply want to take advantage of outdoor lighting, an overcast day will work just fine. Cloudy days diffuse the sunlight in a way that can keep those dark shadows away.

No Sun, No Problem
What to do at night or in the low sun: Place 2 lamps to the left and right of your piece at a 45 degree diagonal from the piece. Figure out how far each lamp should be from the work by taking photos with the lamps at different distances. Each type of light bulb has a different color of light. Stay clear of bulbs that are too orange in hue. Remember, you want to capture what your artwork actually looks like.
3. SET IT UP
Take time to plan your shot. Again, 2D can be hung on a clean white wall or leaned up against a surface so it doesn’t slide. Avoid distortion (called keystoning) by taking the shot from the center of the work with the camera angle set to be parallel with the art. If your camera has a zoom feature, set up the zoom to be about half the distance between fully retracted and fully extended. This will generally be the optimum lens depth of most camera’s digital presets. This is a good time to use a microfiber cloth to clean your camera lens.

Tripods & Stable Shots
 The simple act of pressing the button can shake the camera just enough to ruin a shot. Use a tripod or a stable set up like a table to keep that last-minute shake from ruining all of your hard work. If you’re in a situation where you need to hold the camera, a good tip is to increase the shutter speed to compensate. You can also hold your elbows close to your ribcage to minimize shaking.
Use A Timer
After you’ve secured your camera to a tripod or other stable placement, look through your cameras features to find the timer mode. Whether it’s an expensive DSLR or a cell phone, most have this feature. Using a timer allows the camera to settle into a fully rested position before taking the photo.
 Use ‘P Mode’ If You’re Still Nervous
Most digital point and shoot cameras have a Program Mode (or P Mode). This setting is there for people who are still learning how their camera works or simply don’t want to worry about all the settings at that moment. The camera will take over for you and select what it thinks might be the right settings. Obviously, it can be a bit limiting, but this mode can get you started shooting with little fuss.
Explore Your Camera
All of the features on modern cameras can seem a bit daunting. Each time you take your camera out, spend a little time exploring a different feature. As a practice, take the same shot several times and modify a setting between shots. Little by little you’ll learn how your camera works and what each setting changes.
Use ISO 100-200
Without getting too technical, setting the camera at ISO speed 100 or 200 will keep the image from being to grainy looking. You can learn more about what the ISO does in the bonus videos below.
Take Detail Shots
While your setup is already out, take some time to shoot closer shots of the details. Larger works can often have interesting areas that get overlooked in the full shot. If the work is 3D, move around the object or turn the object to show new sides to the camera.
4. ORGANIZE
An amazing advantage of digital photography is the ability to take many shots and see what they look like in real-time. Once you’ve set up your shot, take a few photos, and then move around the settings and take some more. It’s better to have too many photos than not enough. Before you put away the equipment, check the photos on a computer to see if you achieved what you were looking for. Doing this can save some very valuable time in post-editing. After you see that the photos look promising, you can download them to your computer in a way that streamlines future use.
Plan Out File Folders
Don’t just dump your photos on the desktop. Organize where you will place your art photos. Each person is different, but the goal is to create a system that allows you to categorize and find your images quickly. Here’s how I do it:
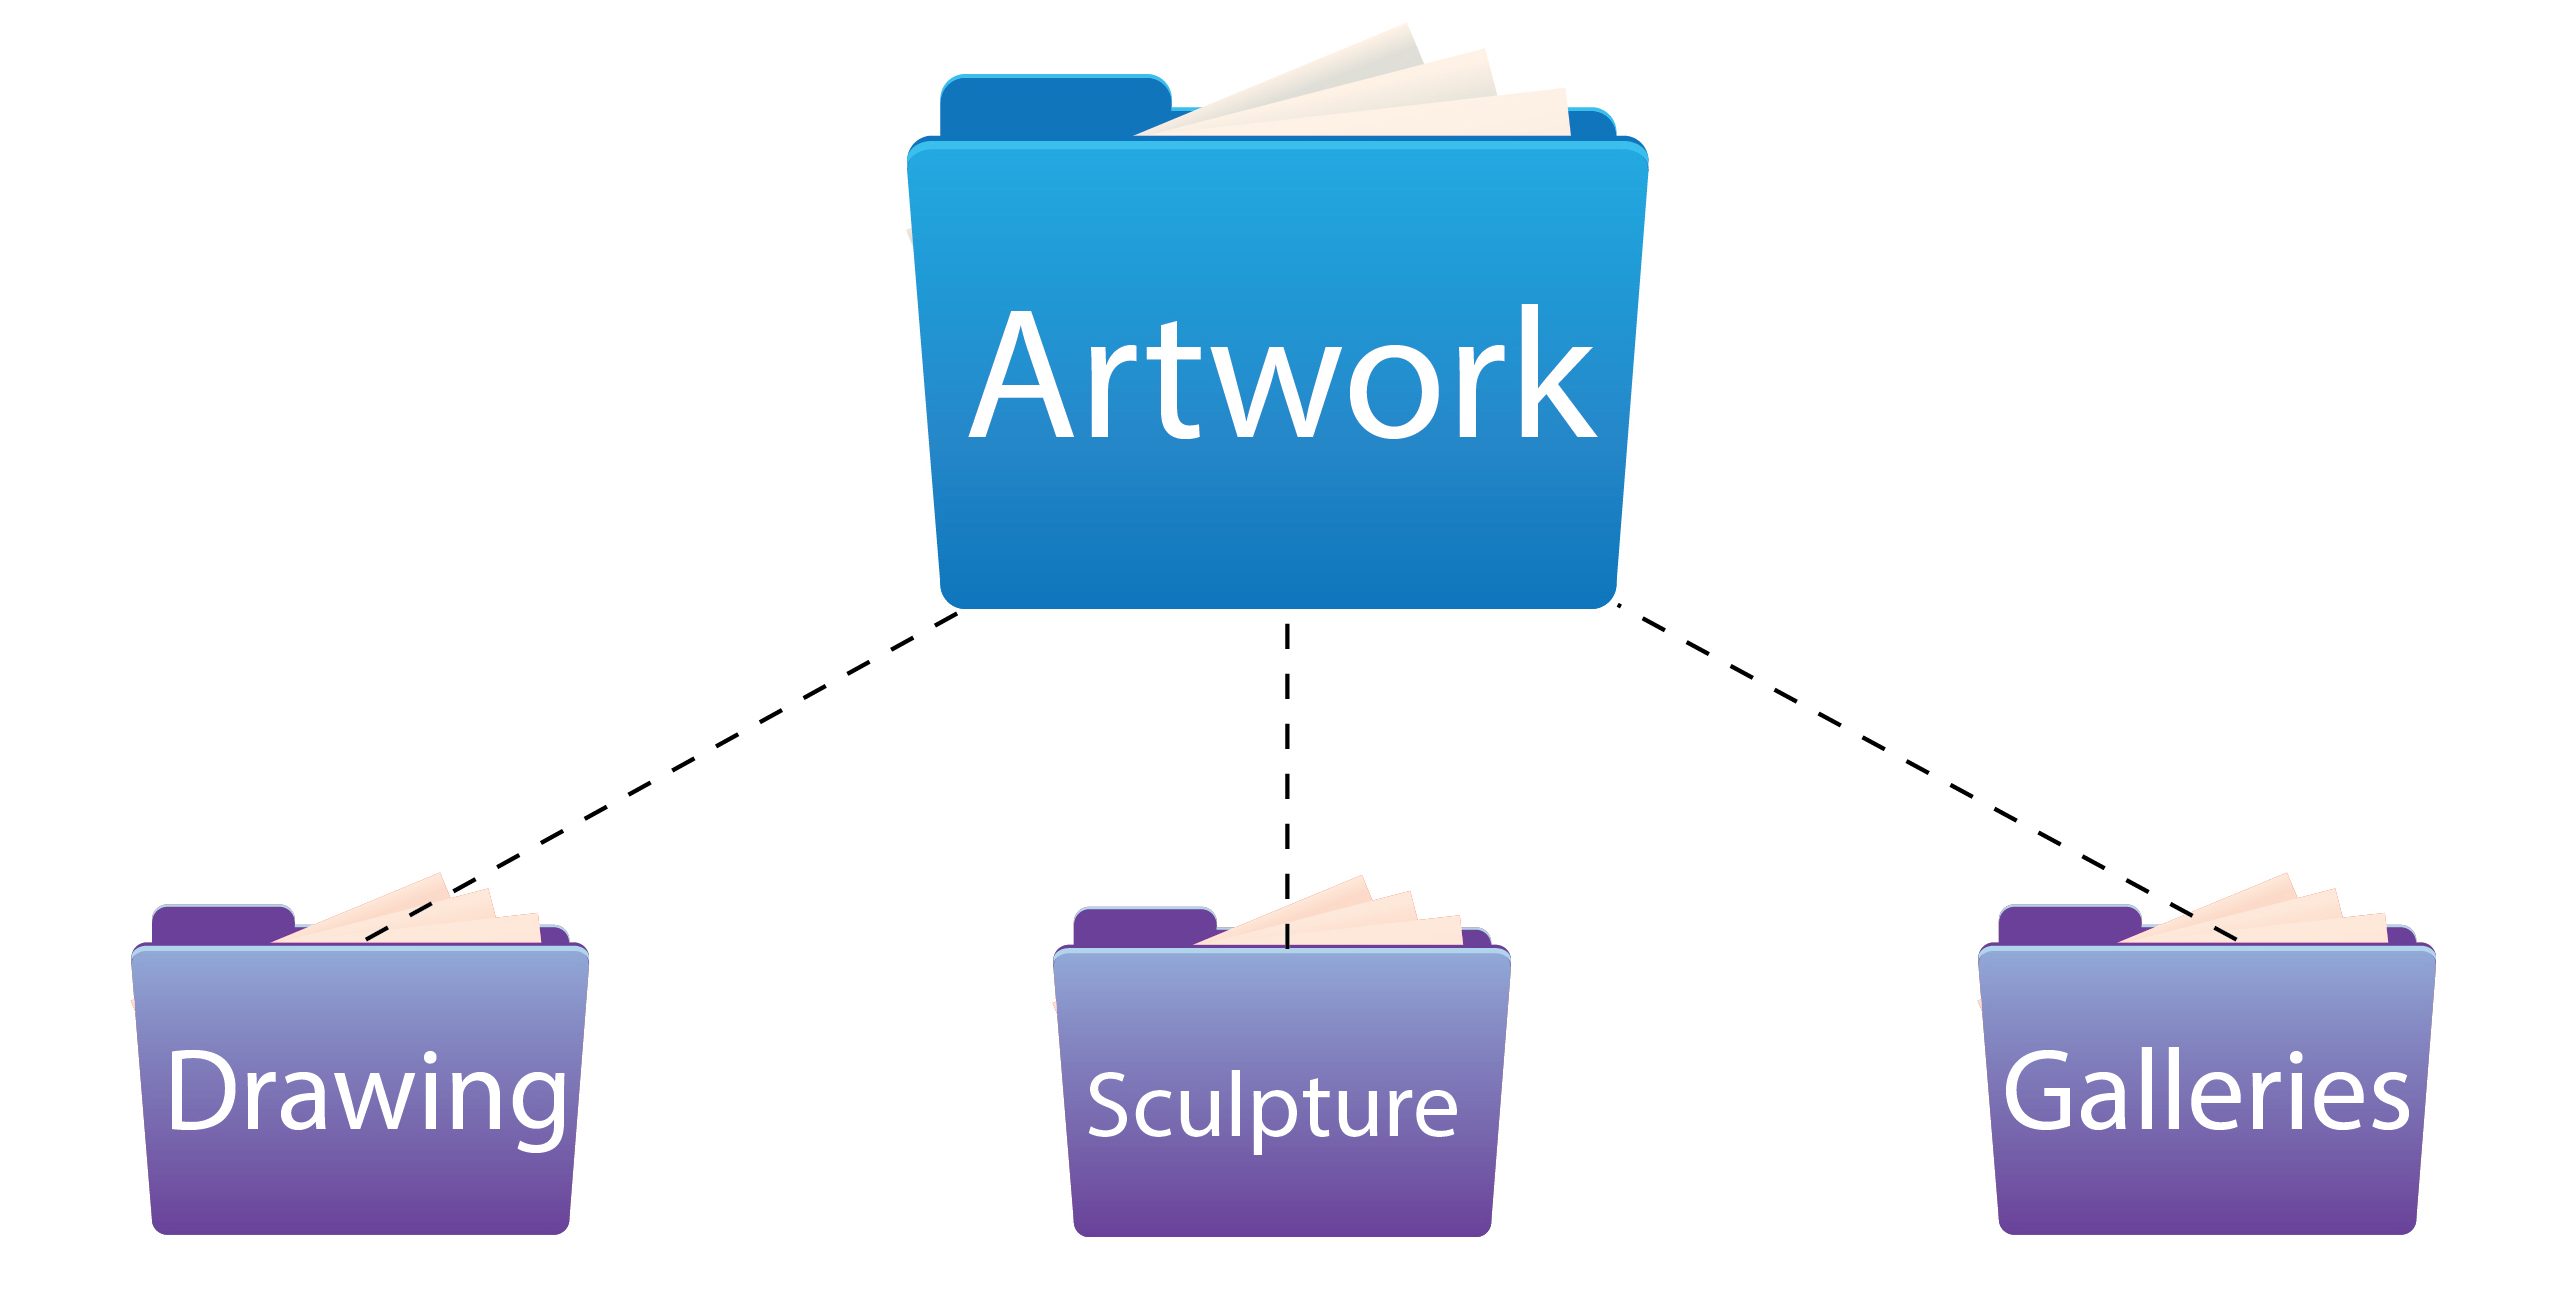 STEP 1: Create a parent folder called, “Artwork”. This keeps your art separate from say family photos.
STEP 2: Are you an artist that makes work in several categories? This is a good time to create folders that separate them.(“Drawing“, “Sculpture“, etc.) Also include a folder called, “Galleries” for use later.
*Once STEP 1 & 2 are done, you won’t need to think about them again until you have a new category*
 STEP 3: Pick the category your recently shot piece fits into and create a new folder that has a simplified title of this artwork. For this example, let’s call this folder “Title”. Everything related to this piece will go in this folder. This includes all raw photos from the shoot, the final edited versions, and any files saved for the web.
STEP 4: Now that you’ve created a whole folder for this piece, you need to create folders that separate the un-edited photos from the edited ones. Create 3 new folders. Rename them: “Title_Raw“, “Title_Final“, “Title_Web“.
Using “Galleries” Folder
 Gallery submissions, call for entry proposals, grant applications, festival applications, etc. often require images to be saved with certain dimensions and very specific titles. Don’t risk ruining the original image over time. It’s a better option to Save As A Copy of your quality image with the requested requirements and title in a folder just for that gallery. Pay attention to the instructions of the gallery and name your files accordingly. There may be a lot of time between application and acceptance. This step helps you keep your submissions straight even if their titles aren’t something you’d naturally look for in later computer image searches.
5. EDIT
Select a handful of photos from your raw images that look like good candidates for editing. Color corrections, lighting, keystone corrections, contrast, etc. can all be done in software if you didn’t get it right the first time. Always remember though, your final image should accurately resemble what your artwork looks like in person. Make sure you save them as a .jpeg at the highest quality. (Especially if requested).
I use Photoshop. There are free or cheaper alternatives that I’ve read work really well. Here’s a list pulled from a few sites; read a breakdown of them here:
1. Preview (Standard on Macs)
2. GIMP (Windows/Mac)
3. Paint.NET (Windows)
4. Photo Pos Pro
5. Photoscape (Mac)
You can find more free articles like this on my Artist Resource page. My mission is to provide free and accessible tools for artists, educators, and enthusiasts. I encourage you to share and refer people here as often as you wish. Naturally, these articles take many hours to thoroughly research and write. If you’d like to support me as an artist and advocate, please consider donating whatever you can. Thank you!


Mahalo for the help. Very informative material.
LikeLike
You’re quite welcome! I’m happy you found some use from it.
LikeLike
Thanks for sharing such valuable information about photography and photography tips. This information helps me a lot to take a better picture with my camera. I am also looking for photography classes in Mississauga, AB.
LikeLike
Thanks so much! Best of luck!
LikeLike
Thank you for all of this, wspecially the ISO video. I’ve been informally studying art glass photography (for my work) for several years, and taking my own photos. I’m ready to invest in some inexpensive equipment and this helps.
LikeLike
Great! I’m glad you were able to glean some information from it.
LikeLike
😊
LikeLike